|
 |
 |
 |
 |
 |
| IMG_3357 | IMG_3315 | IMG_3369 | IMG_6598 | IMG_8000 |
 |
 |
 |
 |
| IMG_7216 | IMG_7217 | IMG_7246 | IMG_7247 |
 |
 |
 |
 |
| IMG_7253 | IMG_7255 | IMG_7259 | IMG_7260 |
 |
 |
 |
|
| IMG_3781 | IMG_3835 | DSC09497m | |
 |
 |
 |
 |
| IMG_6498 | IMG_6517 | IMG_0352 | IMG_1161m |
 |
 |
 |
 |
| IMG_0262 | IMG_0264 | IMG_0265 | VerticalSleeve |
 |
 |
 |
 |
 |
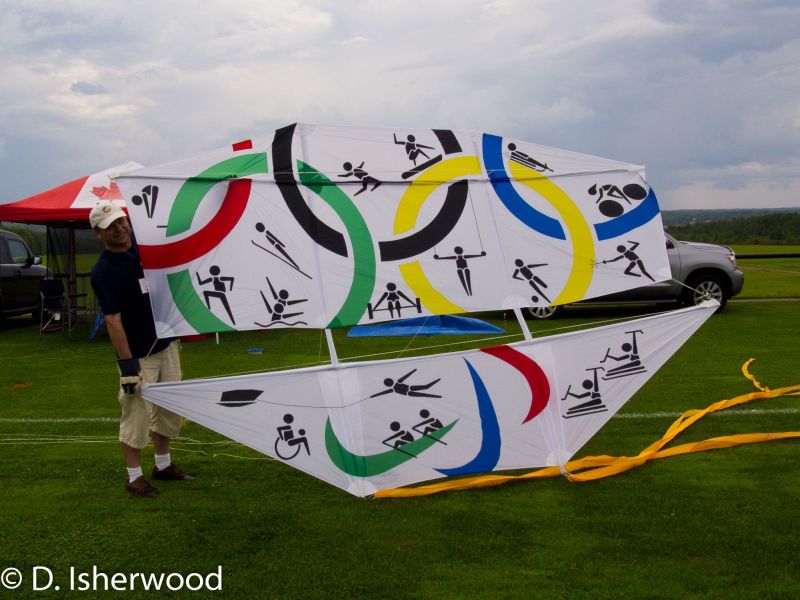
| IMG_6810 | 2012-15-2 Doug Isherwood Front |
2012-16-2 Doug Isherwood Back |
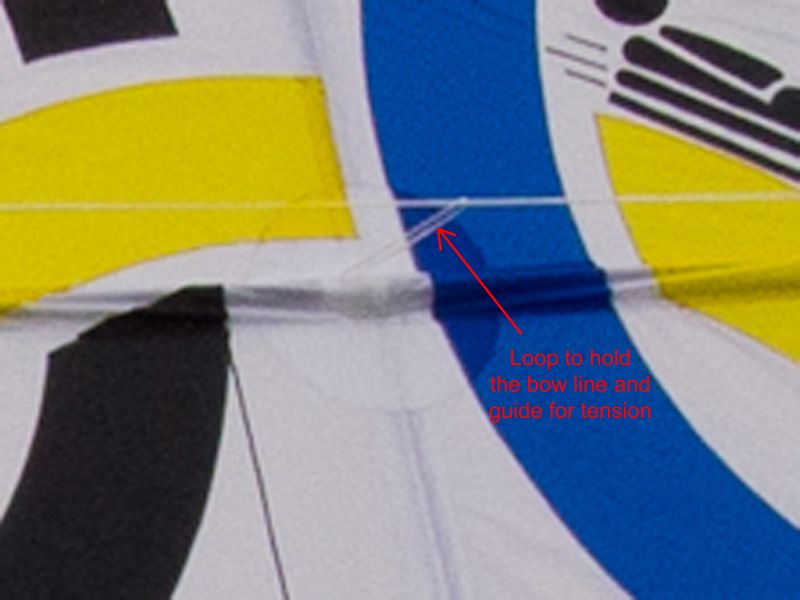
IMG_6325 | Bow Line Loop |
 |
 |
 |
 |
| IMG_6403 | IMG_6405 | IMG_6406 | IMG_6392 |